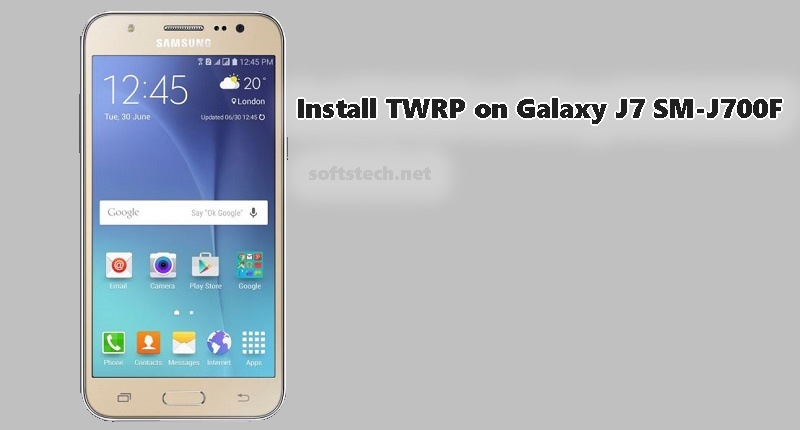
Here are the easy and step-by-step guidelines to Install TWRP Recovery on Samsung Galaxy J7 SM-J700F. TWRP is a well known and a very popular custom recovery for all the android devices. It supports almost all android smartphones. And now the users of Samsung Galaxy J7 have also got the taste and complete features of TWRP recovery. Here you will get the download link and steps to Install TWRP Galaxy J7 SM-J700F variant. TWRP will allow you some rich customization features and you flash third party apps, Custom ROMs and other zip files.
Since it will replace the original stock recovery of your device. However, TWRP recovery has all the latest features that you cannot find on any stock recovery. If you are really interested, to Install TWRP Galaxy J7 SM-J700F, then here is everything you need, follow the completely guide step by step.
Note: the tutorial and tool here are proposed only to Install TWRP Galaxy J7 SM-J700F. don’t apply or flash on any other smartphone. Also, it may void your warranty. So install and proceed on your own risk. We are not responsible for any damage.
Pre-Requisites:
- It’s recommended to completely backup your important contents on the device before flashing.
- Also, make sure that your device battery is sufficiently charged.
- Install Samsung USB driver on your system- Download here
- Also, required to Enable USB Debugging Mode on the device, from the Settings > Developer options. [Go to about device on settings and then repeatedly tap build number more than 7 times to enable Developer options]
- Download and then extract TWRP recovery for Galaxy J7. Click here
- Download Odin flash-tool on your windows system. Link
Steps to Install TWRP Galaxy J7 SM-J700F [Tutorial]
- Extract Odin zip and then Run the tool by double-clicking the .exe file inside.
- Turn off Galaxy J7 and then press and hold VOL-DOWN+ HOME+ POWER keys all at once for a couple of seconds and the press Vol-Up key to enter download mode.
- Then connect J7 via USB cable and note the ID:COM port will turn blue and added text appears on the box below.
- Now click AP/PDA button > locate and select “.tar.md5” file from recovery extracted folder.
- Don’t change the default options on the Odin screen and then press START
- So the flashing process initiates and displays PASS text at completion.
- Finally, the device reboots auto or do it manually.
In conclusion, the install TWRP Galaxy J7 SM-J700F done successfully.
