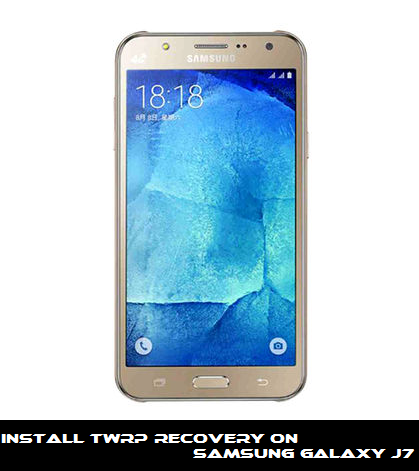
Hey friends, today we are going to share the new tutorial for Samsung Galaxy 7 hope you like it. Yesterday we guide you about the update of Galaxy J7 and now we will show you how to install TWRP recovery on Samsung Galaxy J7.
Once you installed TWRP recovery on your Galaxy J7 then you can easily root your device and also install the custom ROMs. If you want to install the TWRP recovery on Galaxy J7 then follow the steps below.
DISCLAIMER: The guide is only for Samsung Galaxy J7 not for other Samsung devices. If you may brick your device we are not responsible for any damage to your smartphone.
Preparation:
- Backup of the important data on J7 before starting the procedure.
- Galaxy J7 should have at least 70% charge.
- Download and Install Samsung USB latest driver on your PC: Link
- Enable USB Debugging Mode on J7. Settings > Developer options.
- Download Odin Tool latest version for Windows : Link
- Download TWRP for Galaxy J7 : Link
Steps to Install TWRP RECOVERY On SAMSUNG GALAXY J7:
- First, download the TWRP recovery for the Samsung Galaxy J7 from above link.
- Download the latest Odin flashing tool from above link.
- Once the both files downloaded then extract it on the desktop of your PC.
- Now Double-click and run the Odin tool on your computer.
- Switch off & boot your Galaxy J7 into Download Mode by press & hold “Power + Home + Volume Down” buttons.
- Once you enter in download mode then connect the Galaxy J7 to the computer wait for a while the Odin tool recognizing your device.
- Once your Galaxy J7 recognized so you will see an ID: COM port turned blue and Added message in Odin tool message box.
- Now click the AP button from the Odin tool user interface and locate the TWRP recovery file (you extracted in step 3).
- Once you added the TWRP recovery file then check the Odin settings from the user interface. If the settings are default then Leave it or it’s not default settings then follow the below settings:
- Tick “Auto Reboot”, “F.Reset Time” and Re-partition is NOT ticked.
- Now click on start button and it will start the flashing of recovery file.
- Once the flashing process finished your device reboots and Odin gives you the ‘all clear’ before unplug.
That’s it, Now you can root and also install the custom ROMs on your Samsung Galaxy J7.
Enjoy 🙂
