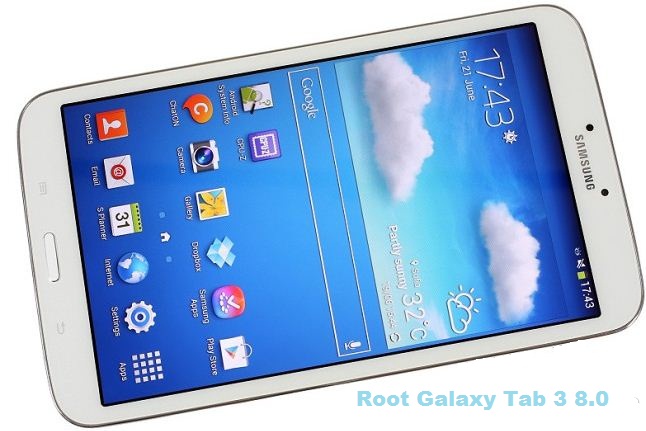
The Galaxy tab 3 8.0 is the 3rd series of Samsung tabs collection supporting a brilliant Exynos 4212 Dual-Core 1.5 GHz Processor, Mali 400 GPU, an 8inch High definition screen with Dolby Surround sound. Android 4.4 KitKat is all around the corner to reach out almost any worthy gadget and so it has designed its way to the Samsung Galaxy Tab 3 8.0. Having this newest Android version operating on your galaxy tab, it could literally reach sky high with its new performance & advancements. But, you could always do a lot more when you’ve your device rooted, doing so is quite easy if you have the right guidelines and we’re here to do that for you. So today, we are going to guide you how to Root your Galaxy Tab 3 8.0 on Android KitKat 4.4.2 using Chainfire’s CF-Auto-Root method and flashing it using the popular Odin flashing tool.
Disclaimer!
Rooting voids your Tab’s warranty & trips the KNOX counter. Softstech don’t encourage rooting, understand the risk & perform anything on your own will. I shall not be held responsible for any damage to your device.
Preps Before Rooting:
1. Install USB drivers
2. Charge your Tab 3 battery above 60% level to be on the safe side
3. Backup anything, this includes your internal storage, SMS, contacts and calenders etc.
4. Enable USB debugging. If you aren’t aware of the method, visit here.
5. Download the full CF-Auto-Root package for Galaxy Tab 3 8.0 SM-T310: Just click Here
Root Samsung Galaxy Tab 3 8.0 SM-T310 on KitKat 4.4.2:
Step No 1:- Extract the downloaded CF-Auto-Root bundle to a suitable place. Just Dual click on Odin3 v3.07.exe to start the Odin program.
Step No 2:- Ensure Auto Reboot and F. Reset Time are checked out & everything else is not.
Step No 3:- Power off your Galaxy Tab 3. Press the Volume Down + Home + Power keys altogether till you see a warning screen inquiring for your confirmation.
Step No 4:- Press the Volume Up button to enter into Download Mode.
Step No 5:- The ID:COM port will show the device ID which means the device has been connected correctly. If it does not, ensure to install the drivers properly.
Step No 6:- Click on the PDA tab, browse to the location of the package & choose CF-Auto-Root-lt01wifi-lt01wifixx-smt310.tar.md5.
Step No 7:- Click on Start to begin the flashing process, which might take a moment or so.
Step No 8 :- Once completed, you’ll be displayed with a PASS! information.
The Tab 3 will reboot itself into Rooted KitKat 4.4.2 firmware. Make sure to take the initiate of the newest Android version on your Galaxy Tab 3 8.0. Get back to us through comments and share your opinions on the latest rooted Android 4.4.2 KitKat firmware on your Tab 3 8.0.
